How to: Multi Factor Authentication (MFA)
24/01/2022
24/01/2022
Webdashboard supports Multi Factor Authentication in a few ways.
When you connect an external provider like Azure Active Directory to Webdashboard, all the MFA functionality that you required for users to logon to your local environment, are also enforced here. But if you invite someone to Webdashboard with just an E-mail address (called Webdashboard account) you can enable MFA in Webdashboard this document shows how.
What is MFA
Multi-factor authentication is an authentication method in which a user is granted access to a website or application only after successfully presenting two or more pieces of evidence (or factors) to an authentication mechanism: knowledge (something only the user knows), possession (something only the user has), and inherence (something only the user is). MFA protects user data—which may include personal identification or financial assets—from being accessed by an unauthorised third party that may have been able to discover, for example, a single password.
Why is MFA needed
Cybercriminals have more than 15 billion stolen credentials to choose from. If they choose yours and you used the same username / password they could access Webdashboard. Adding this secondary factor to your username/password makes stealing your information harder for the average criminal.
MFA in Webdashboard
Enable MFA
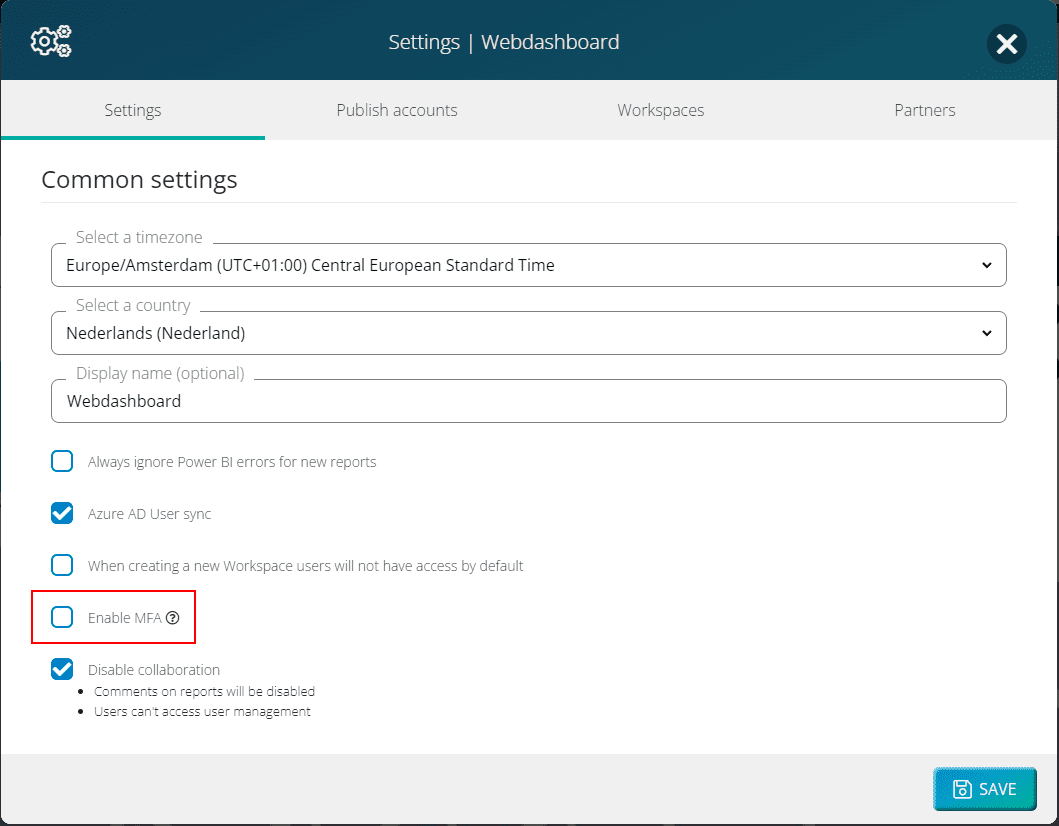
You can only enable MFA in Webdashboard for your entire portal. This means that when you enable it, MFA will be enabled for every Webdashboard account in your portal. You do this by checking a box in settings:
User setup
When a user signs in after MFA is enabled, users will have to configure their MFA. This is done with an Authenticator App. Apps Webdashboard tested for this are:
Microsoft Authenticator
Play Store (Android): Microsoft Authenticator – Apps on Google Play
Apple Store (IOS): Microsoft Authenticator on the App Store (apple.com)
Google Authenticator
Play Store (Android): Google Authenticator – Apps on Google Play
Apple Store (IOS): Google Authenticator on the App Store (apple.com)
Twilio Authy
Play Store (Android): Twilio Authy 2-Factor Authentication – Apps on Google Play
Apple Store (IOS): Twilio Authy on the App Store (apple.com)
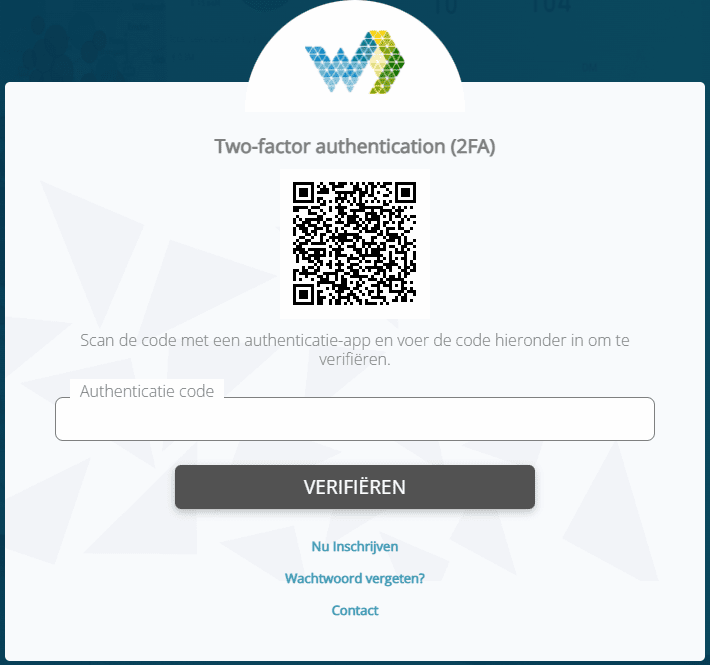
First install or open your favorite Authenticator app on your phone. After a user has filled in the password, a QR code is shown. Scan this QR code with the authenticator app.
After you scan the QR code, the app will generate a Authentication code. The user can now verify this code and MFA is setup.
Second Sign in
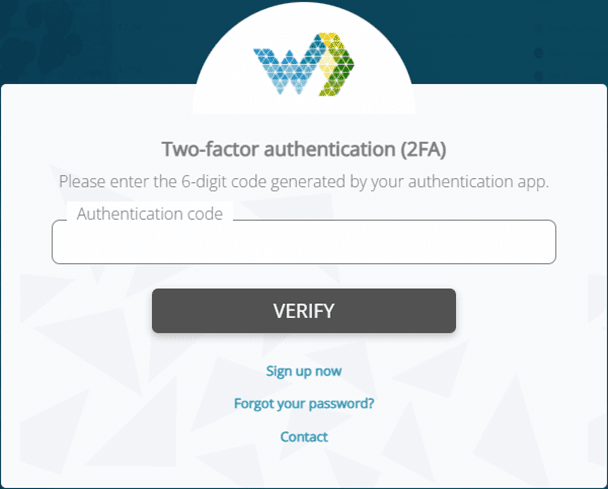
When a user signs in a second or third time, no QR code is shown anymore. Webdashboard will now only show the authentication code field and you’ll need your authenticator app to sign in.
User lost Authenticator App
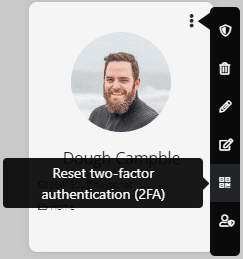
When a user loses his Authenticator App access, he can’t reset the app himself. If this whould be possible, an identity thief would simply reset MFA after signing in with the stolen username/password. So only portal admins can reset MFA for a user, and only for other users. (If you are the only portal admin and lost access to your authenticator app, please contact support@wbedashboard.com).
Simply go to User Management and reset the password.