How do I start?
Easy and intuitive!
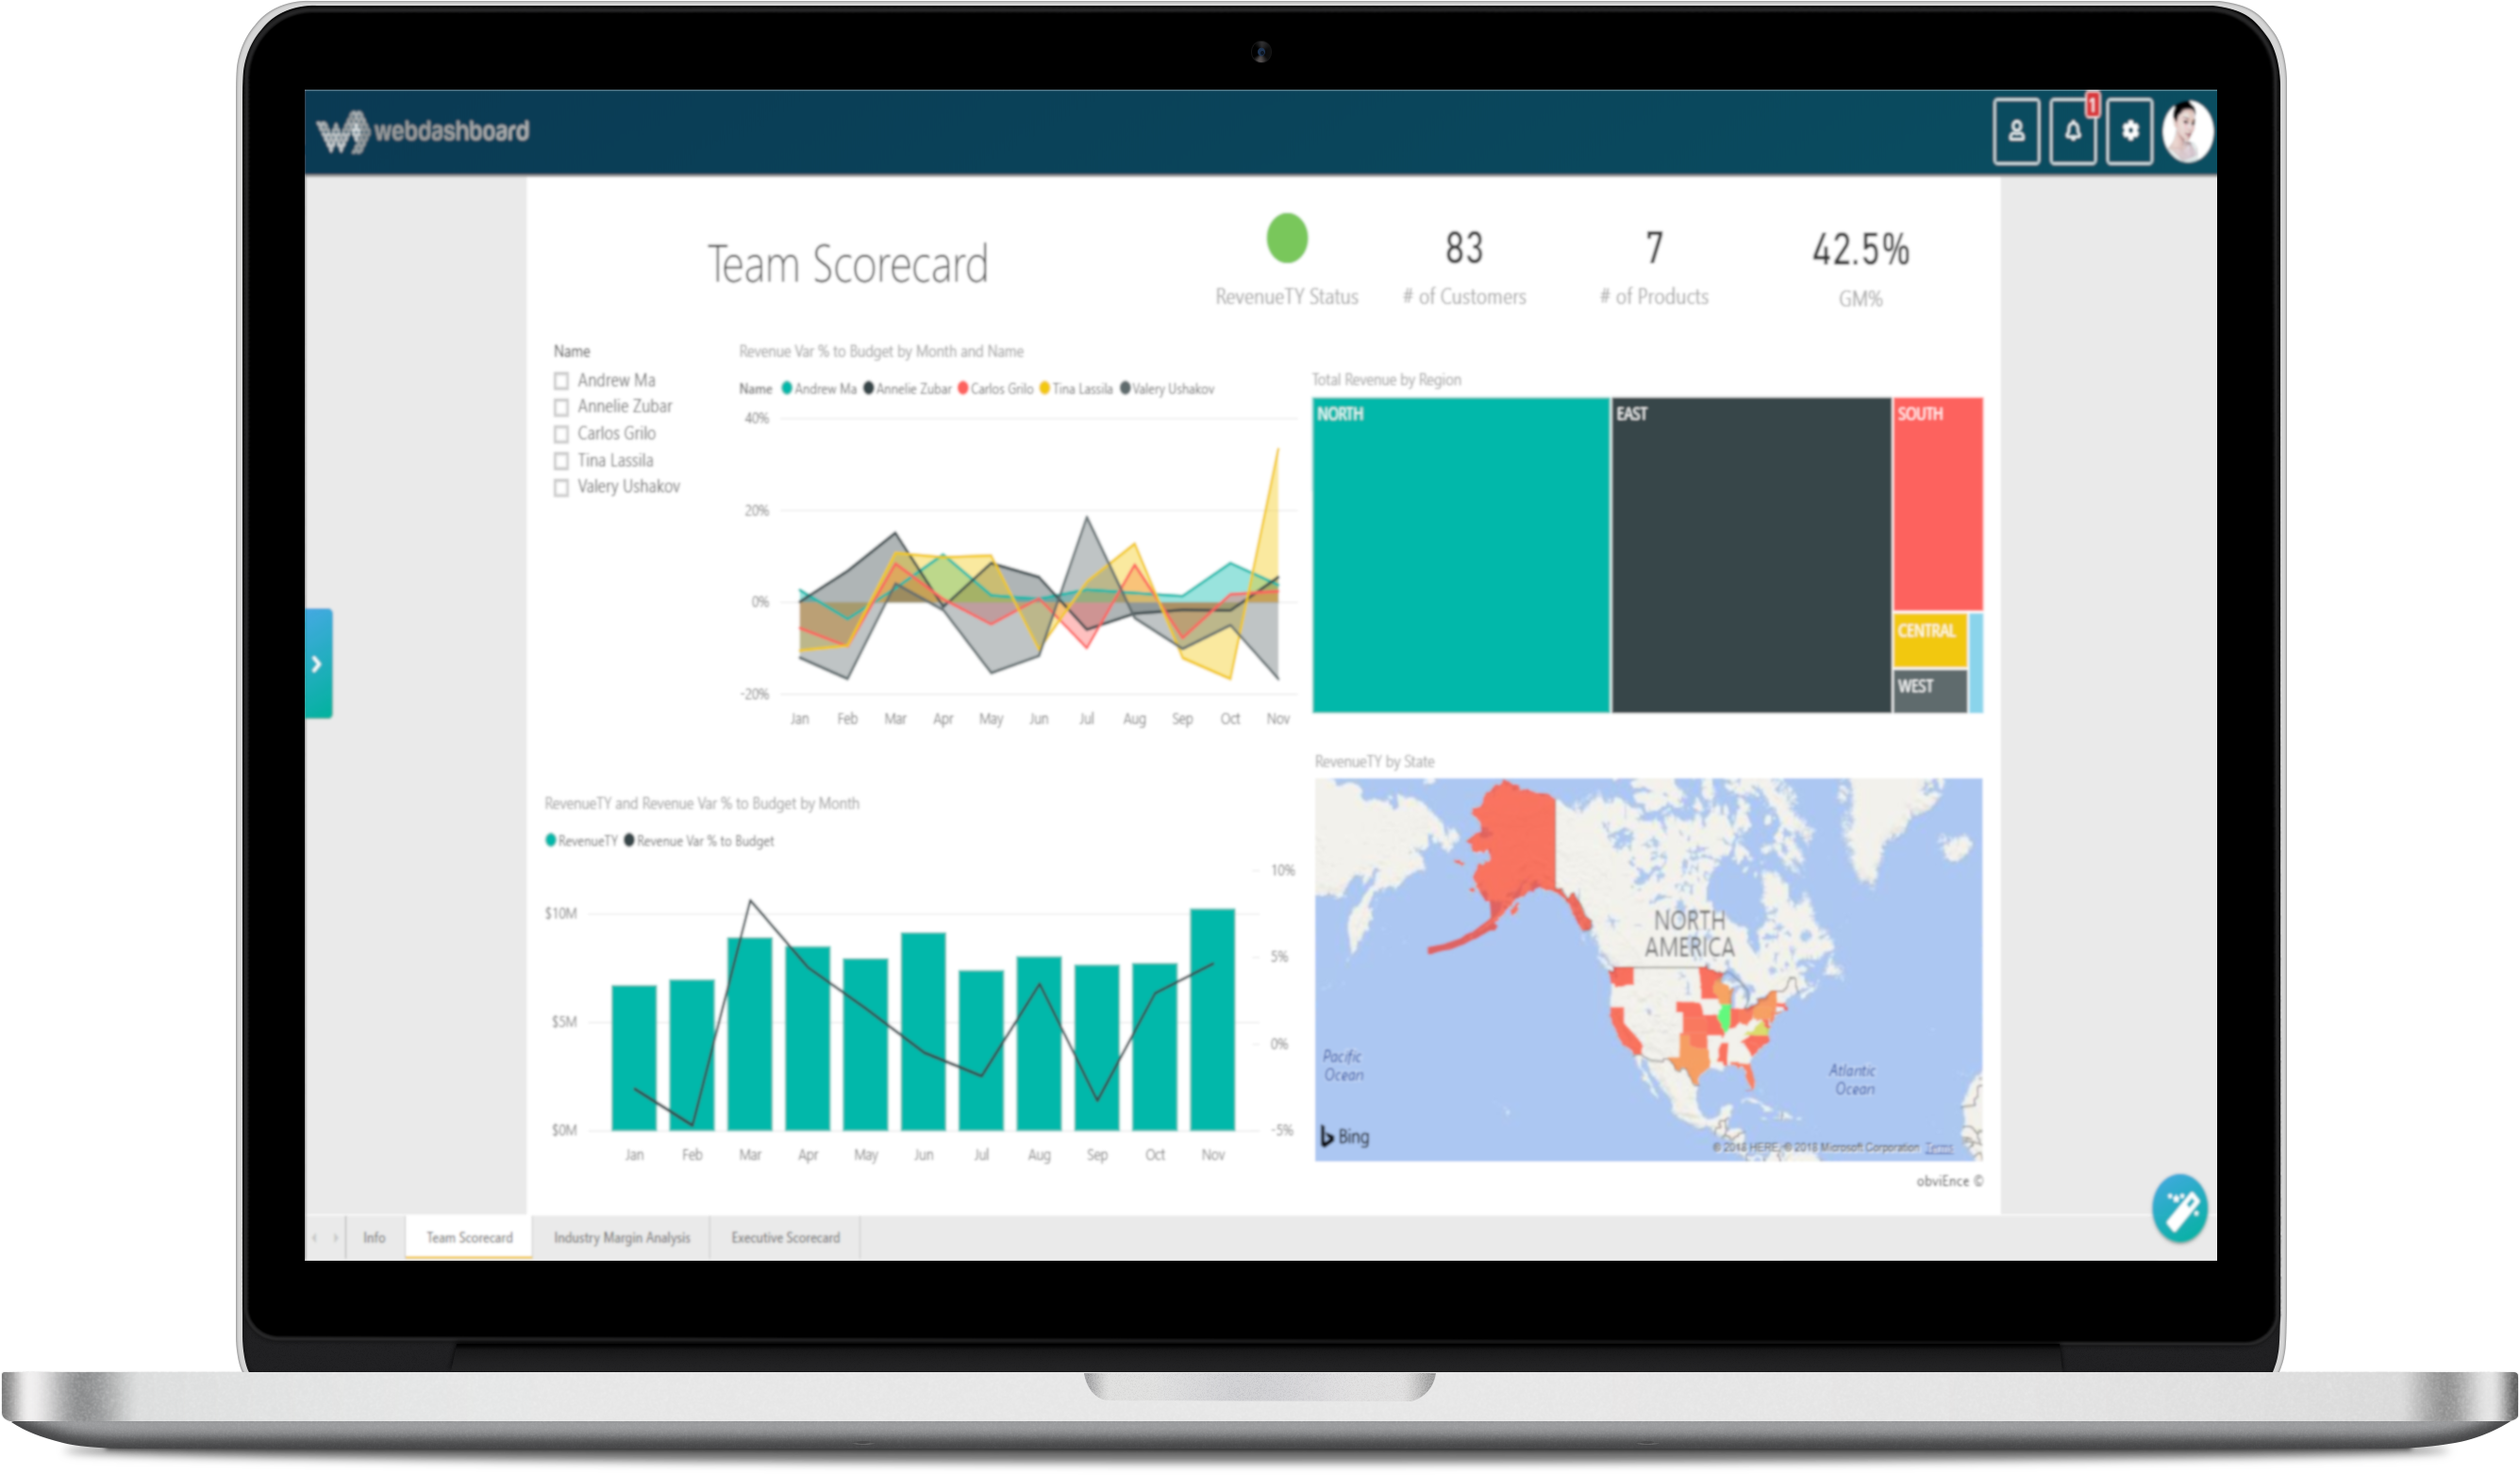
Webdashboard is an extra layer on your Power BI. A level-up, or rather Power-up!
This is why it integrates perfectly with existing Power BI environments.
Want to make sure your data is secure? Read in the download below how Webdashboard secures your data.


Follow the steps below and off you go! You will learn how to get your first report shared securely.
Already familiar with Power BI? Skip step 4 and use your existing reports.
But in case you do need help, you're always welcome to get in touch for a demo.
Step 1: Create your trial account
It's very easy to create an account. Simply fill in your personal & company info and verify your e-mail. Fill in a password, and you're good to go.
Your personal environment is now created. You'll receive a Webdashboard Portal and a single Power BI Publish account. This account allows you to publish Power BI reports to your Webdashboard portal.
Within just a few minutes, you'll be ready to Webdashboard!
Step 2: Create your workspace(s)
Go through the tutorial that shows you where everything is.
In the navigation menu on the left side, click ‘Add Workspace’ to start creating a manageable structure.
You can divide your workspaces on departments (e.g. MT, Sales, HR) or give each customer their own workspace.
You decide what's right for your organization.
Step 3: Invite a user
To invite someone to join your Webdashboard, go to the User overview (in the top settings bar).
Click the magic mand button at the bottom right of the screen, and click the '+' button 'New'. In the menu that opens you can simply enter an e-mail address and determine the users settings like their landing page.
You can also import users from your AD or Google Workspace.
Step 4: Create a report (skip if you already have some)
If you already have Power BI reports, you can skip this step and of course just use those. :)
To give a quick example: download and install Power BI Desktop via Power BI Desktop.
Or download this example Excel SampleData.zip.
After installing, open Power BI Desktop, click 'Get Data' and choose 'Excel'. Create your visuals from the data, and save the report.
Step 5: Publish the report to your Power BI account
In Power BI (Desktop), open the report(s) you want to use in Webdashboard.
Click 'publish' at the top. Sign in with the Webdashboard 'publish account', which you created in Step 1. Choose the correct workspace (not My Workspace) and click 'Select'.
Step 6: Connect/upload your report to Webdashboard
In Webdashboard, in the navigation menu on the left side, click ‘Add Report’ to the workspace you'd like to add this report to.
Check the box for the report that you published in step 5, and the report is immediately added.
You can instead also upload reports directly in Webdashboard from the same 'Add Report' menu. Just try what works easier for you.
When invited users log in at Webdashboard they have access to this report in this workspace.
You can also manage RLS and access/viewing rights, manage groups, etc. Explore all possibilities in our features & tutorials!
Get answers to all your questions
Don't wait - get data-driven
You've got a 30 day free trial waiting!
Still some questions?
We're here to help!