Embed with Single Sign-on (SSO) in your extranet
31/03/2023
31/03/2023
There are two versions of Single Sign-on. One is when you connect your AzureAD or Google Workspace to Webdashboard and use the same account to login to all your applications, including Webdashboard. The second is when you integrate Webdashboard inside your extranet. This artical deals with the second option.
Webdashboard supports Single Sign-on both ways since 2019, but with the introduction of whitelabeling (2022) we can make it more secure. Below are the steps to succesfully implement SSO inside your extranet.
To enable whitelabeling, you need to go to Settings -> Themes -> Whitelabeling here you can find instructions how to configure your DNS. But for SSO in your extranet you also need to whitelabel de devapi from Webdashboard. So you’ll need the following CNAMES in your DNS. With the settings below you can access Webdashboard through the url: https://dashboard.[yourdomain.com] and the development api through the url: https://devapi.[yourdomain.com]. Off course you can choose your own sub domains.
| Type | Host | Value |
| CNAME | dashboard | inswdbwafrontendprd.azurewebsites.net |
| CNAME | devapi | inswdbwadevapiprd.azurewebsites.net |
Please check if the CNAME is configure correctly with this tool:
When this is done, contact Webdashboard, we will check the settings and add these to our Webserver.
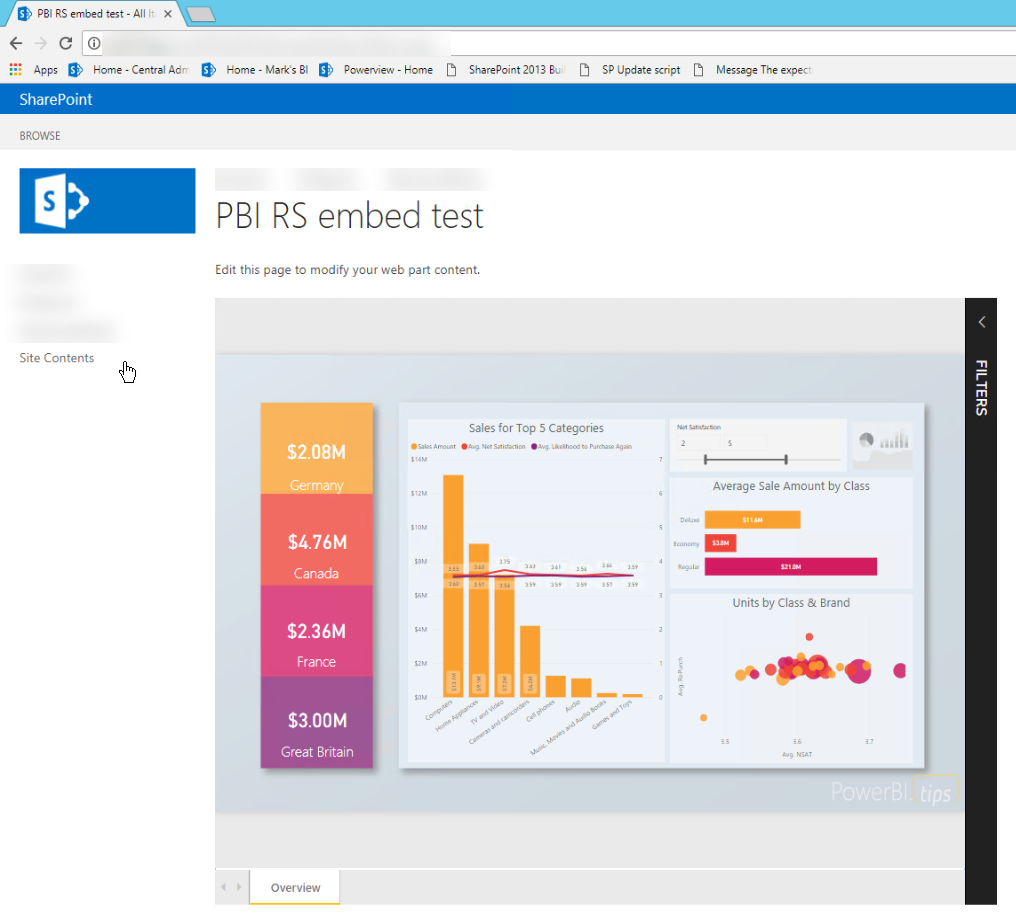
You can embed the entire webdashboard site in your extranet, or use a direct link to the report. To get the direct link to a report, make sure you use the embed URL. This URL is found in het menu on the left.
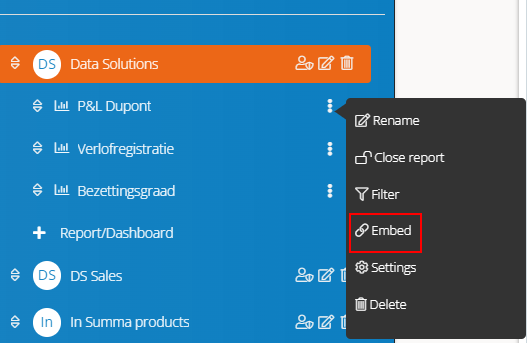
The embed URL looks something like this:
https://dashboard.[yourdomain.com]/en/embed?workspaceId=x&reportId=x&portalId=x
To get access to the SSO flow you’ll need to get your SSO key. This key can be found in, Settings -> Development
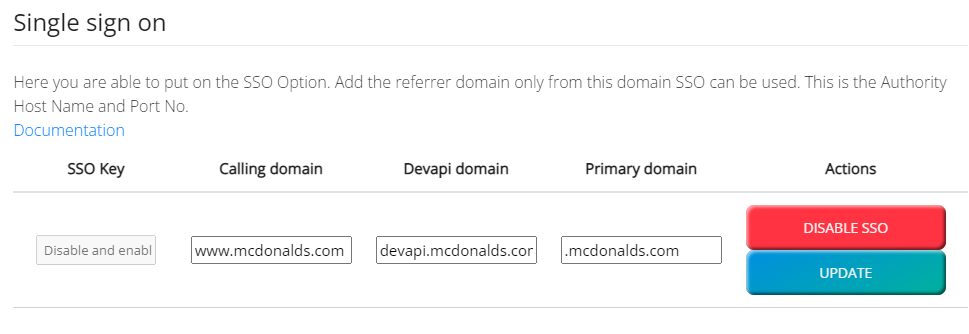
Here we need 3 settings:
Below is some example code how you can embed a Webdashboard report in your Website, with comments.
Code runs on the page https://www.[yourdomain.com]/reports?report=1
ngOnInit(): void {
this.http.get(‘https://devapi.[yourdomain.com]/api/Authentication/SetSSOCookie?PortalId=*&SecretKey=*****_&UserName=*****%40gmail.com&ReplyUrl=www.[yourdomain.com]’,
Here a call is done to your whitelabeled devapi. With your portalid and secretkey (found in the Developer settings) and the username you want to signin with. Next to that we need the replyurl, which is your primary calling domain (from step 3)
{ withCredentials: true })
We set a temporary cookie, cookies can only be set when you allow them. That’s what ‘withCredentials:true’ does.
.toPromise()
.then(x => {
Then a promise, this makes sure the authentication calls is complete before the Report is loaded.
document.getElementById(“container”).setAttribute(“src”, “https://dashboard.[yourdomain.com]/en/embed?workspaceId=x&reportId=x&portalId=x”);
The container is an iframe. The iframe is set with the report embed URL, you got in step 2.
console.log(x);
})
.catch(x => console.log(x));
}